Editing with Astoria A1
A few months ago I dropped a preset that I often use called Astoria A1. It’s actually one of my presets, not something I threw together to sell you. The $6 isn’t worth me deceiving you into thinking you’re getting the style I work within when you’re actually not. I’m thinking someday I’ll launch some more of my Astoria presets, but until that day comes, I wanted to show you what it’s like working with this filmic preset I use called Astoria A1. In fact, here’s a look at my presets and you’ll see Astoria A1 right in there.
You may notice in my preset library below Astoria 100 A1. I have two ways of naming my presets… 100 series are filmic looks, and 200 series are digital looks, and of course BW are black and white looks. Astoria A1 is actually Astoria 100 A1, just removed the 100 to not cause confusion. And what’s the difference between Astoria 100 A and 100 A1?
100 A has red in the shadows and 100 A1 has green in the shadows. I rarely use red…and almost always use green.
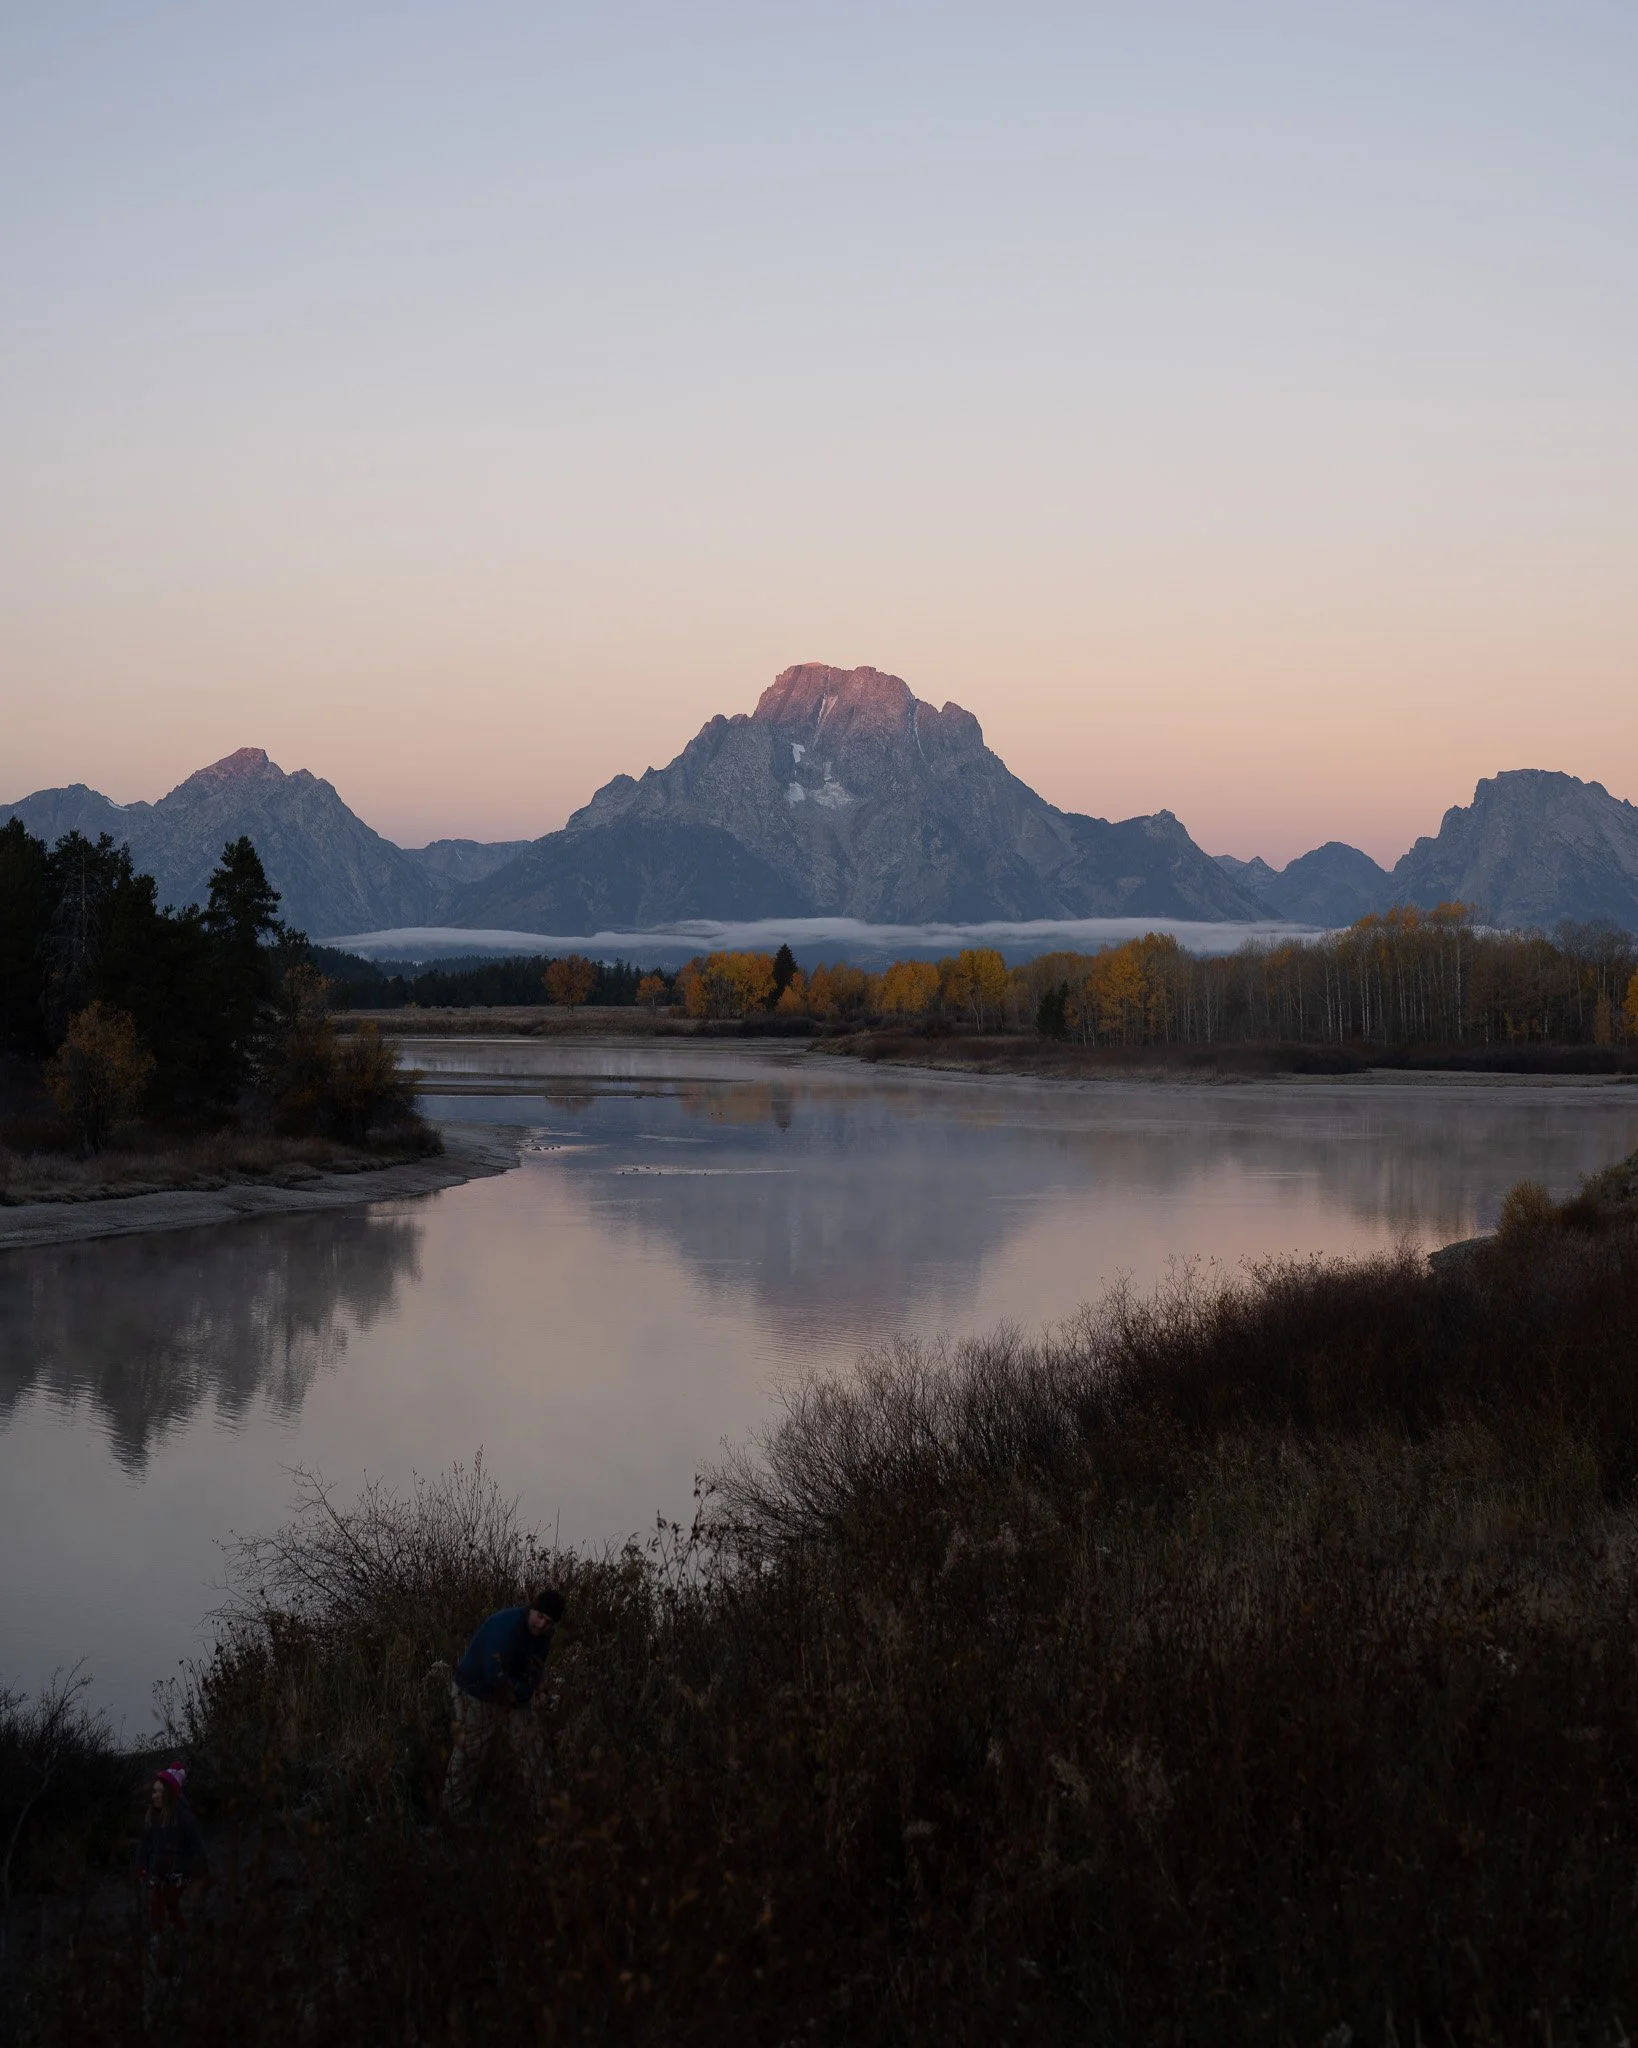
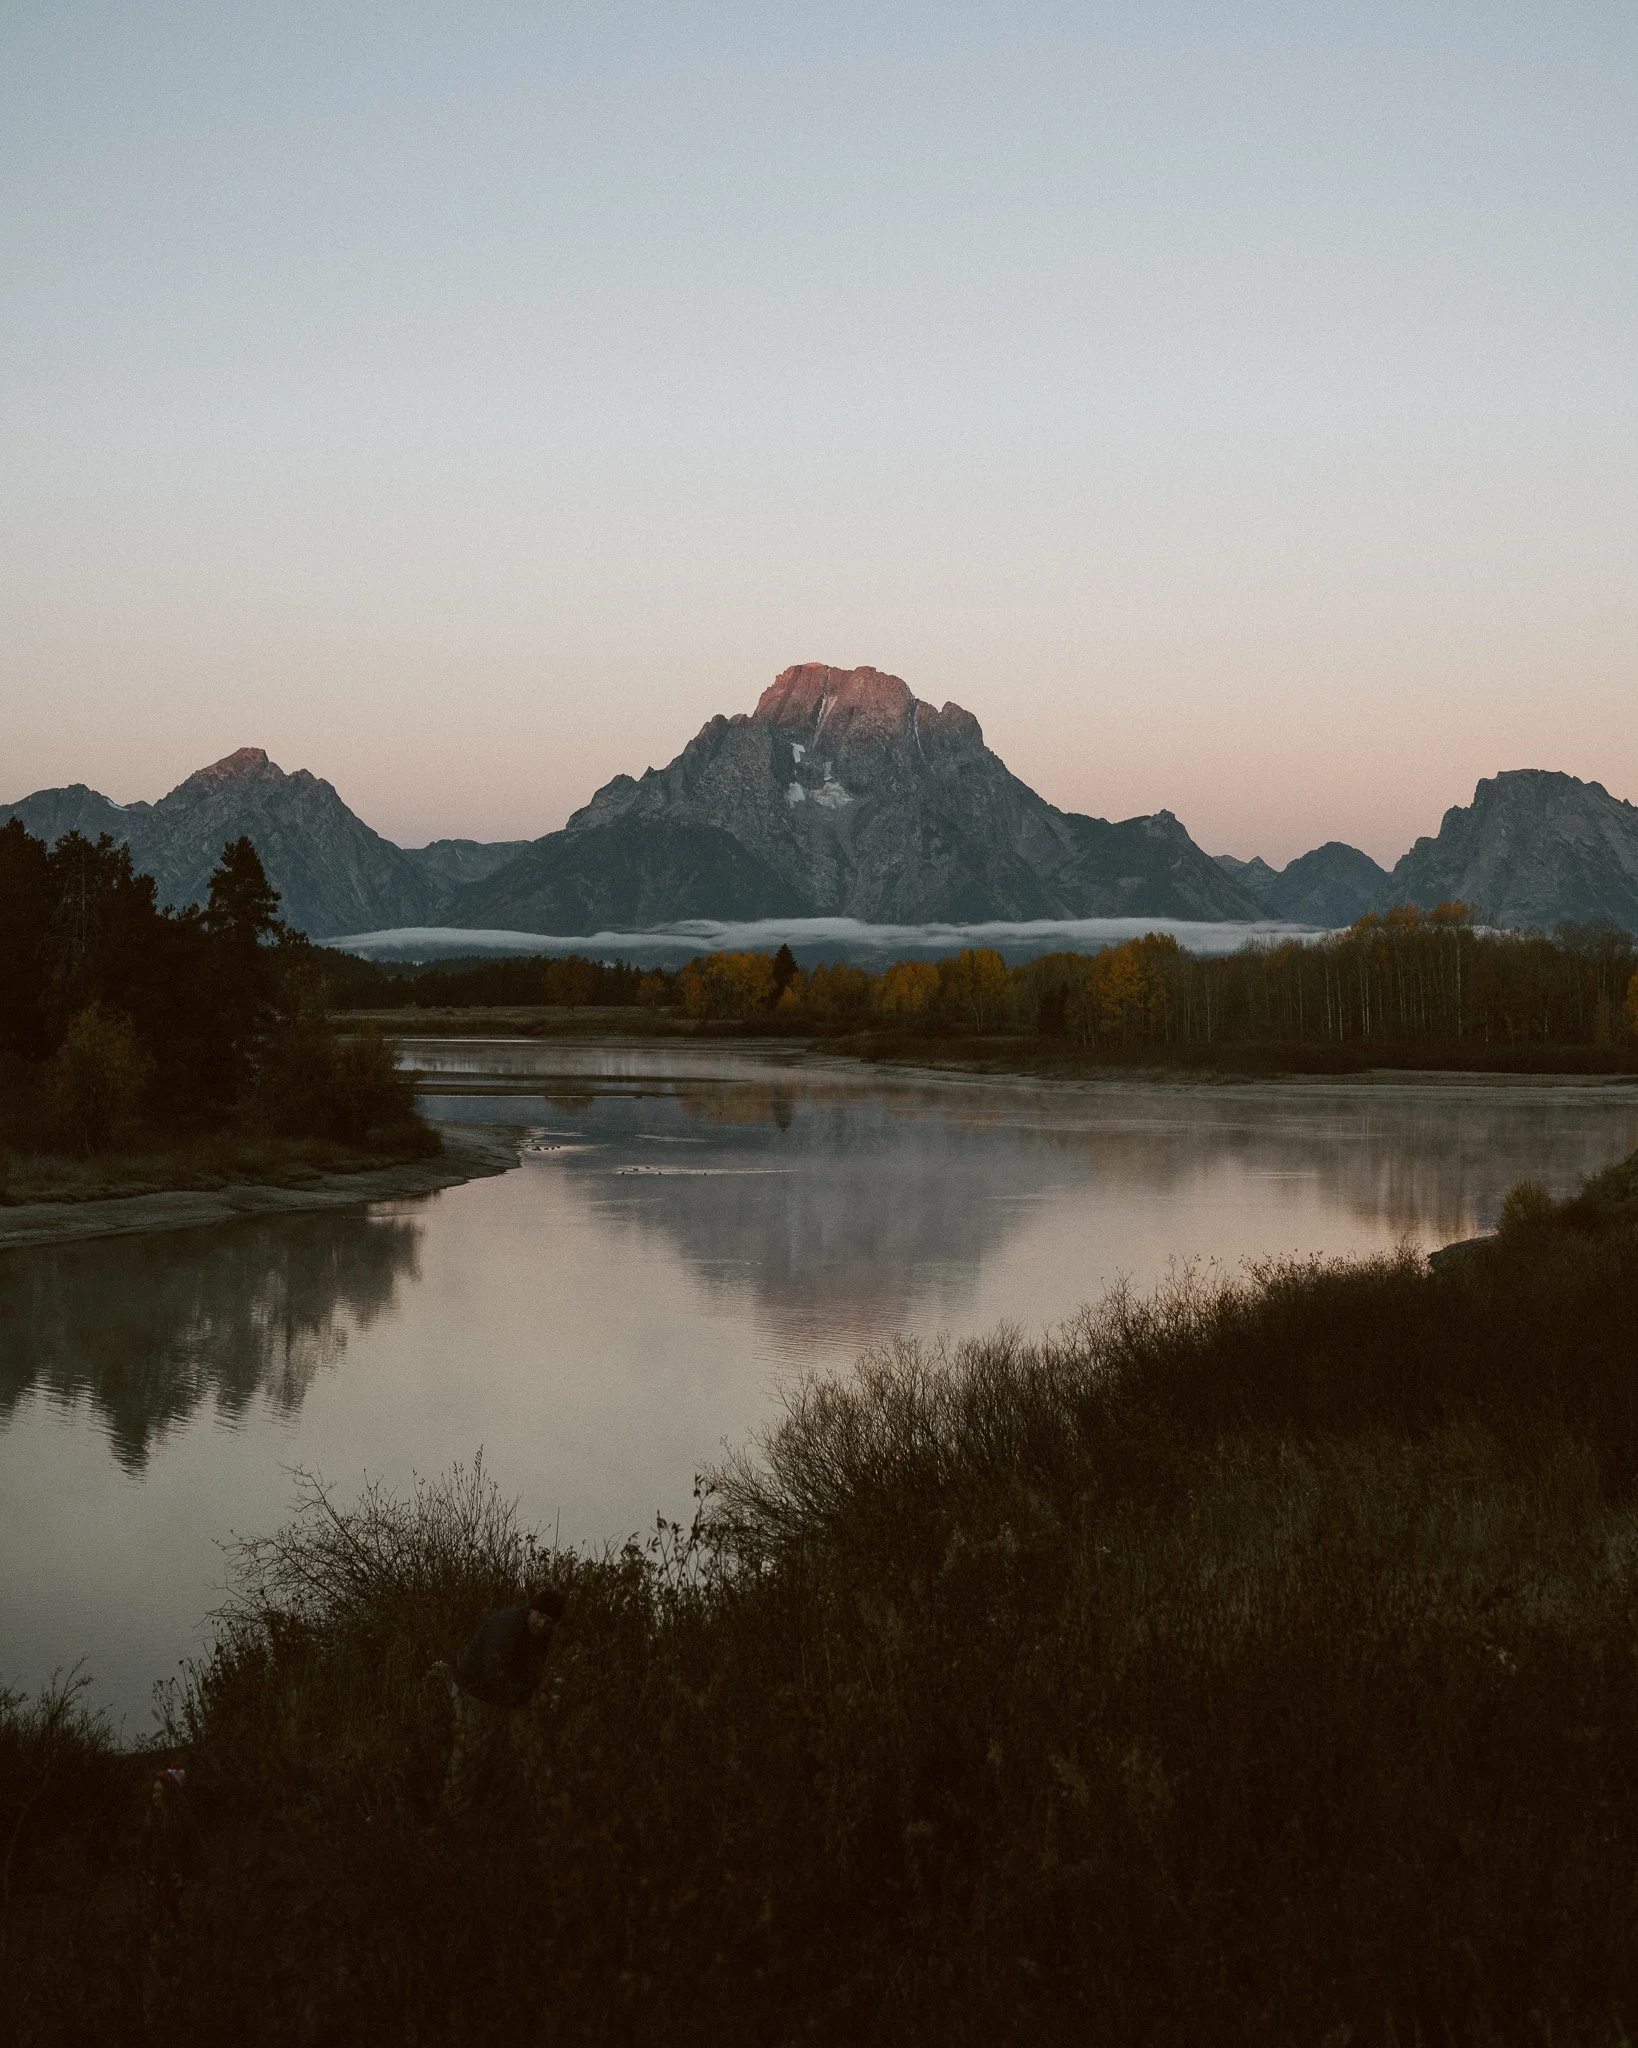
So let’s jump in. I didn’t over curate this demo guide. Rather, I just scrolled through my most recent shoot and selected a handful of images to show you the RAW file, a 1-click file with Astoria A1, and a few tweaks to a final photo. Here we go!
Example #1
RAW, unedited
1-Click with Astoria A1
Simple tweaks to finished edit
Example #2
RAW, unedited
1-Click with Astoria A1
Simple tweaks to finished edit
Example #3
RAW, unedited
1-Click with Astoria A1
Simple tweaks to finished edit
Example #4
RAW, unedited
1-Click with Astoria A1
Simple tweaks to finished edit
Example #5
RAW, unedited
1-Click with Astoria A1
Simple tweaks to finished edit
Example #6
RAW, unedited
1-Click with Astoria A1
Simple tweaks to finished edit
Example #7
RAW, unedited
1-Click with Astoria A1
Simple tweaks to final edit
Example #8
RAW, unedited
1-Click with Astoria A1
Simple tweaks to finished edit
Final Thoughts
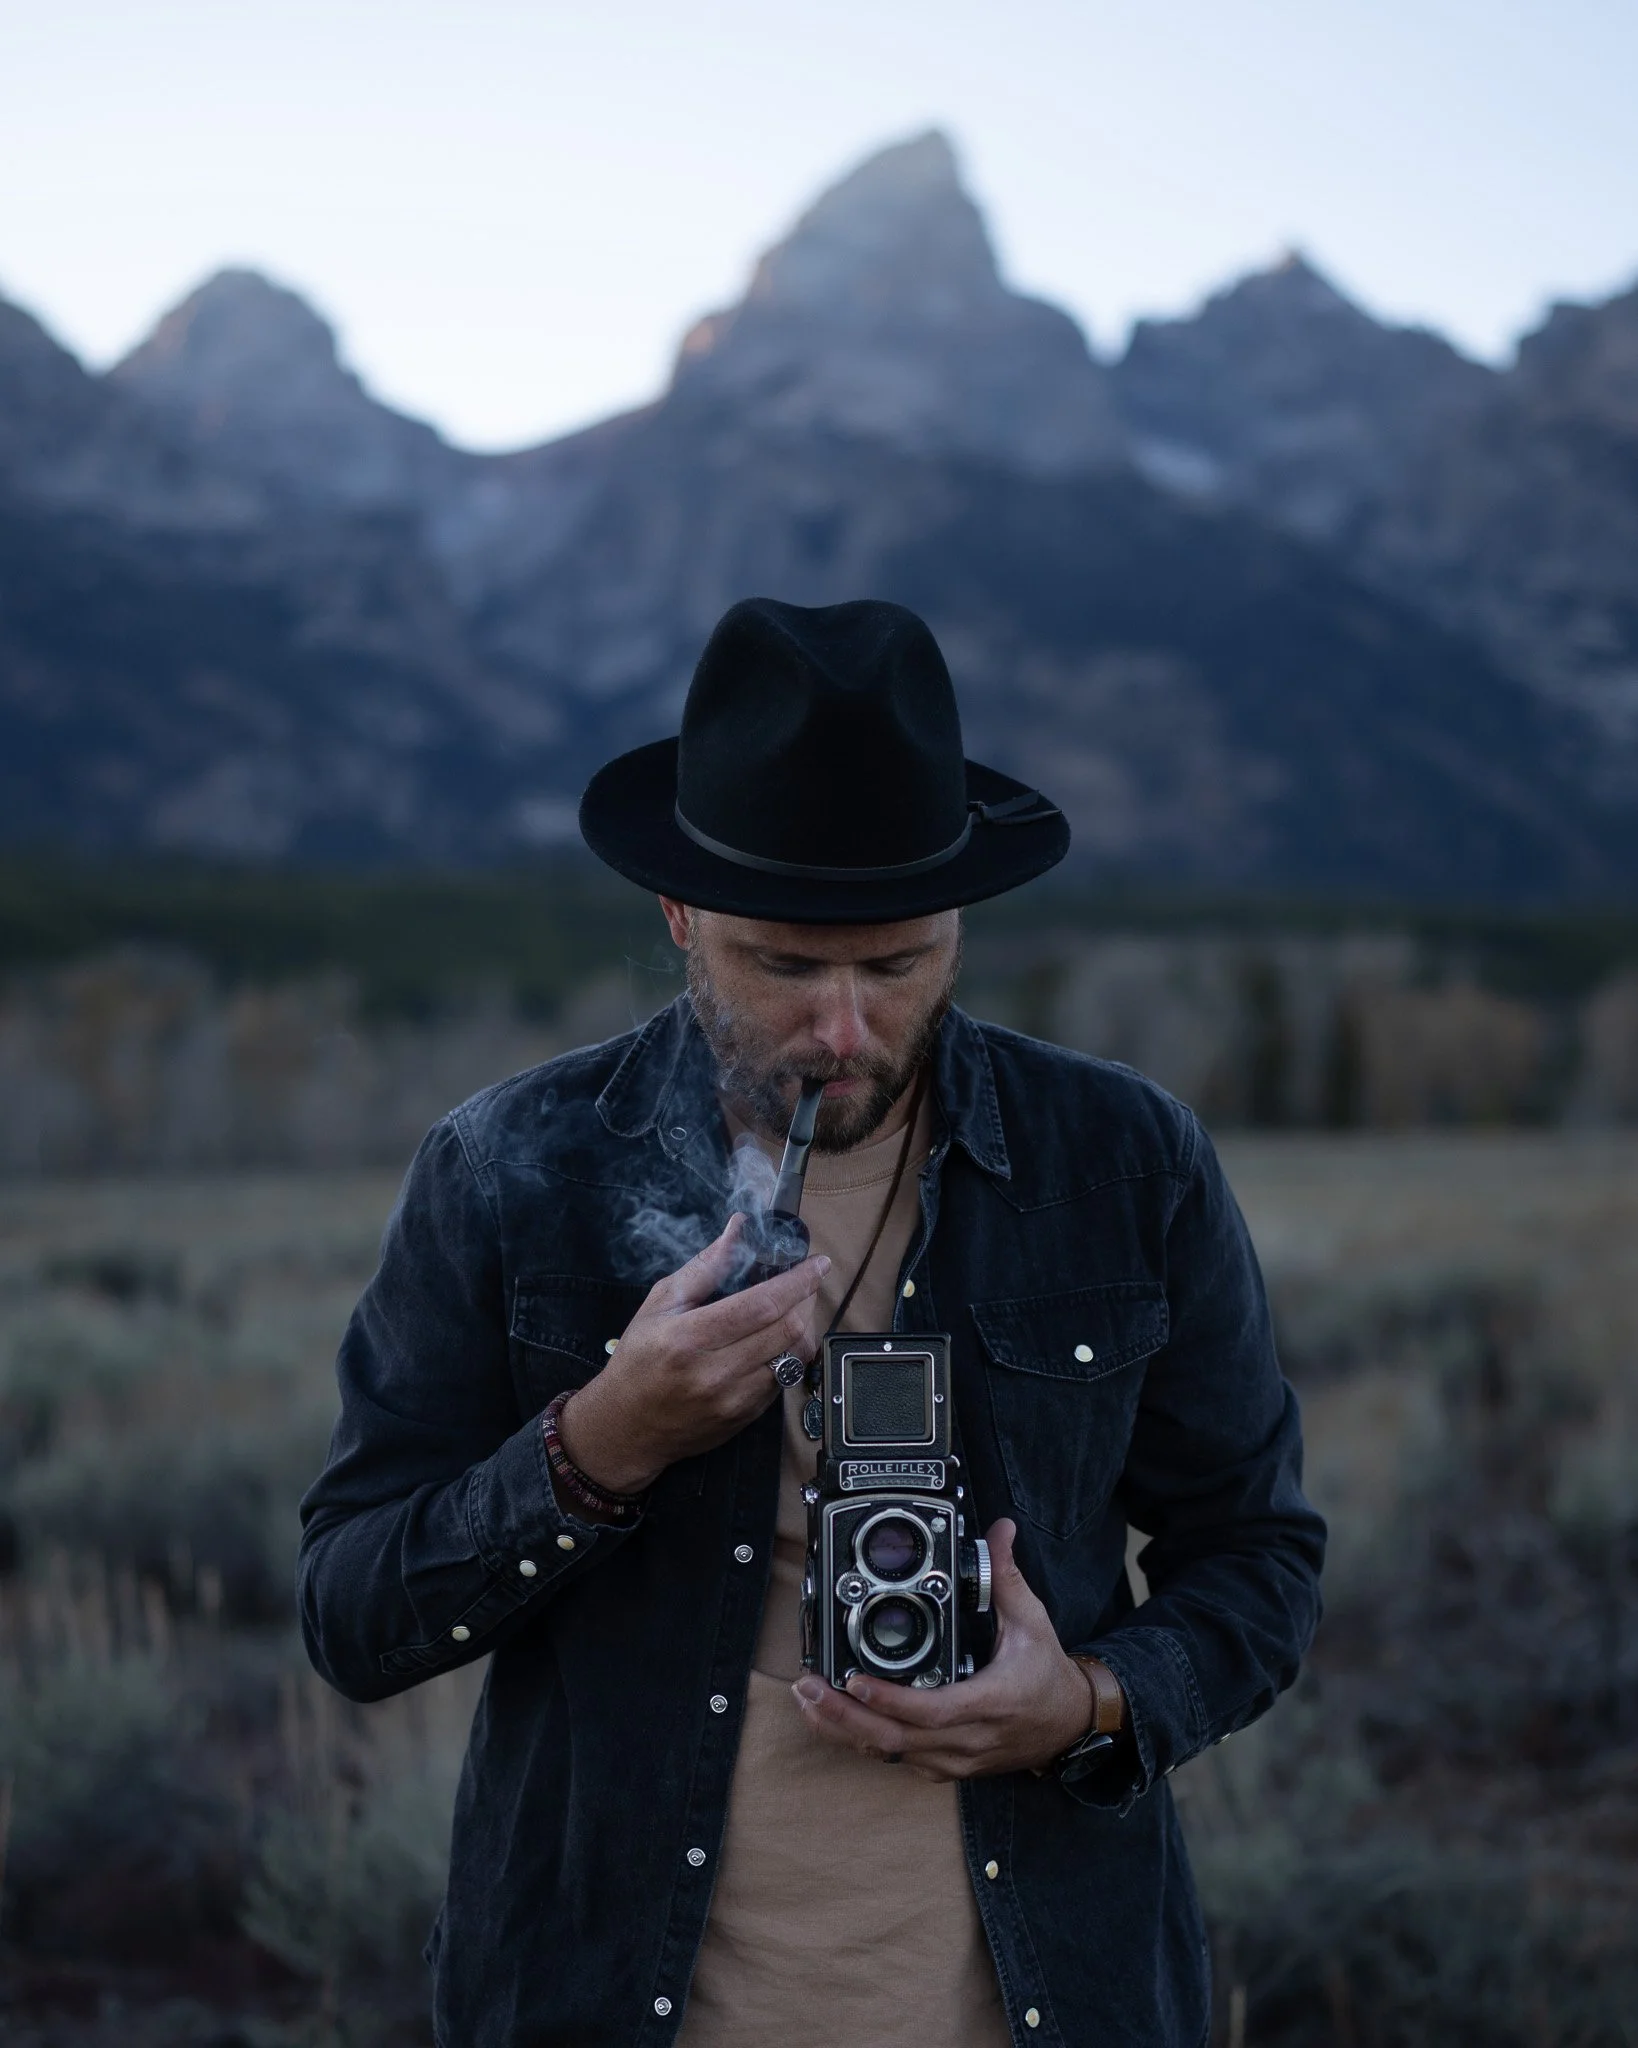
On all of the final photos, I wrote “simple tweaks to finished edit.” Let me break down the kind of simple tweaks I’m talking about. They are often adjusting the white balance (since I shoot the same 6500k no matter what), decreasing contrast, decreasing highlights/increasing shadows, slightly increasing saturation, a bump in exposure, and a gradient at the bottom to darken the image. All of these tweaks are done in less than a minute.
If you like this filmic look and want to give it a try, grab Astoria A1 from my shop. I’d love to see your photos with this preset, so be sure to shoot me a DM on Instagram and show me what you cook up!


