

Tips for Shooting in Winter
No one every taught or told me that you need to shoot differently in the winter than any other time of year. I went to the Teton’s in the winter a couple of years ago, and honestly hated most of my photos. I was shooting slightly under-exposed back then, using the light meter on the back of my camera. This isn’t outside the norm of how many photographers shoot. Shooting slightly under-exposed on most modern cameras lets you recover the shadows and get a bit more saturation, as well as further retaining the highlights. Completely normal.
Except when you shoot snow, this is the worst thing you can do. I didn’t know this back then, and most of the photos I shot just didn’t work. Take this one of the Teton’s for example. Here is the RAW photo, no edit, shot slightly under-exposed and with auto-white balance. All of these are bad ideas. I know that, now.

RAW, underexposed photo of the Teton’s. Not a single one of my usual presets works on this photo.
You may look at that photo and think that maybe you can edit it and make it look nice. Maybe you can. I can’t. Instead, I learned how to shoot in the snow, and that changed everything about how I shoot in winter. Now I absolutely love and look forward to winter shots, especially in snowy places. Here are the things I learned.

1. Shoot K for Your White Balance
Ditch auto white balance right now. I don’t even shoot AWB at all anymore, but more on that another time. If you want to have consistency in your snowy photos, switch your camera over the K (Kelvin) and find a nice color treatment between 5500k - 6500k. That usually works for me. Shoot your entire session or day on that setting. It will give you incredible consistency that AWB will not. If you’re an advanced shooter, you’ll find that your presets will be incredibly consistent if your white balance is as well. I always shoot around 6400k no matter what, which gives me great consistency when I edit.
2. Always ETTR
ETTR = Expose to the Right. If you use the light-meter on your camera to see where your exposure is, consider switching to the histogram. When you shoot monitoring the histogram, you see the spectrum of exposure from black-to-white. When exposing ETTR, push your exposure as far to the right as you can before hit hits the wall or ceiling. This is the proper exposure for snow. It ends up being around +1 or more on the light-meter, but that’s fine.
Take a look at the histogram on this photo, and you’ll see that it’s exposed to the right a bit. This lets even all of the shadows in this photo (which is actually most of the photo) remain bright and white without getting crushed.


3. Find Ways to Decrease Contrast
Snow is pure white, and deep shadows are very black. That extreme creates a harshness in snowy photos that can be hard on the eyes and not very pleasing. Try to find ways to decrease the contrast, either through your compositions or by pushing the exposure as mentioned above. When I’m shooting scene in the winter, I try to minimize small shadows. Look at the examples throughout this post, and you’ll see that I try to compose in a way that shadows and light are large, meaning they cover large parts of the scene. One of the best examples is below, this incredible moment where a small section of light was on the mountain that was fully shadowed.

4. Wait for the snow to stop falling
I love the idea of shooting in the snow, but photography in the snow doesn’t work very well…unless it’s that really big, clumpy, slow drifting snow. Maybe you can do something with that. But when it’s really coming down, your photos aren’t going to work. Instead, wait until the snow passes and then go shoot that winter landscape. Consider these two examples. I really wanted a bison in the snow, but I couldn’t get it. Yet when it wasn’t snowing, I still got snowy photos, but they actually work!
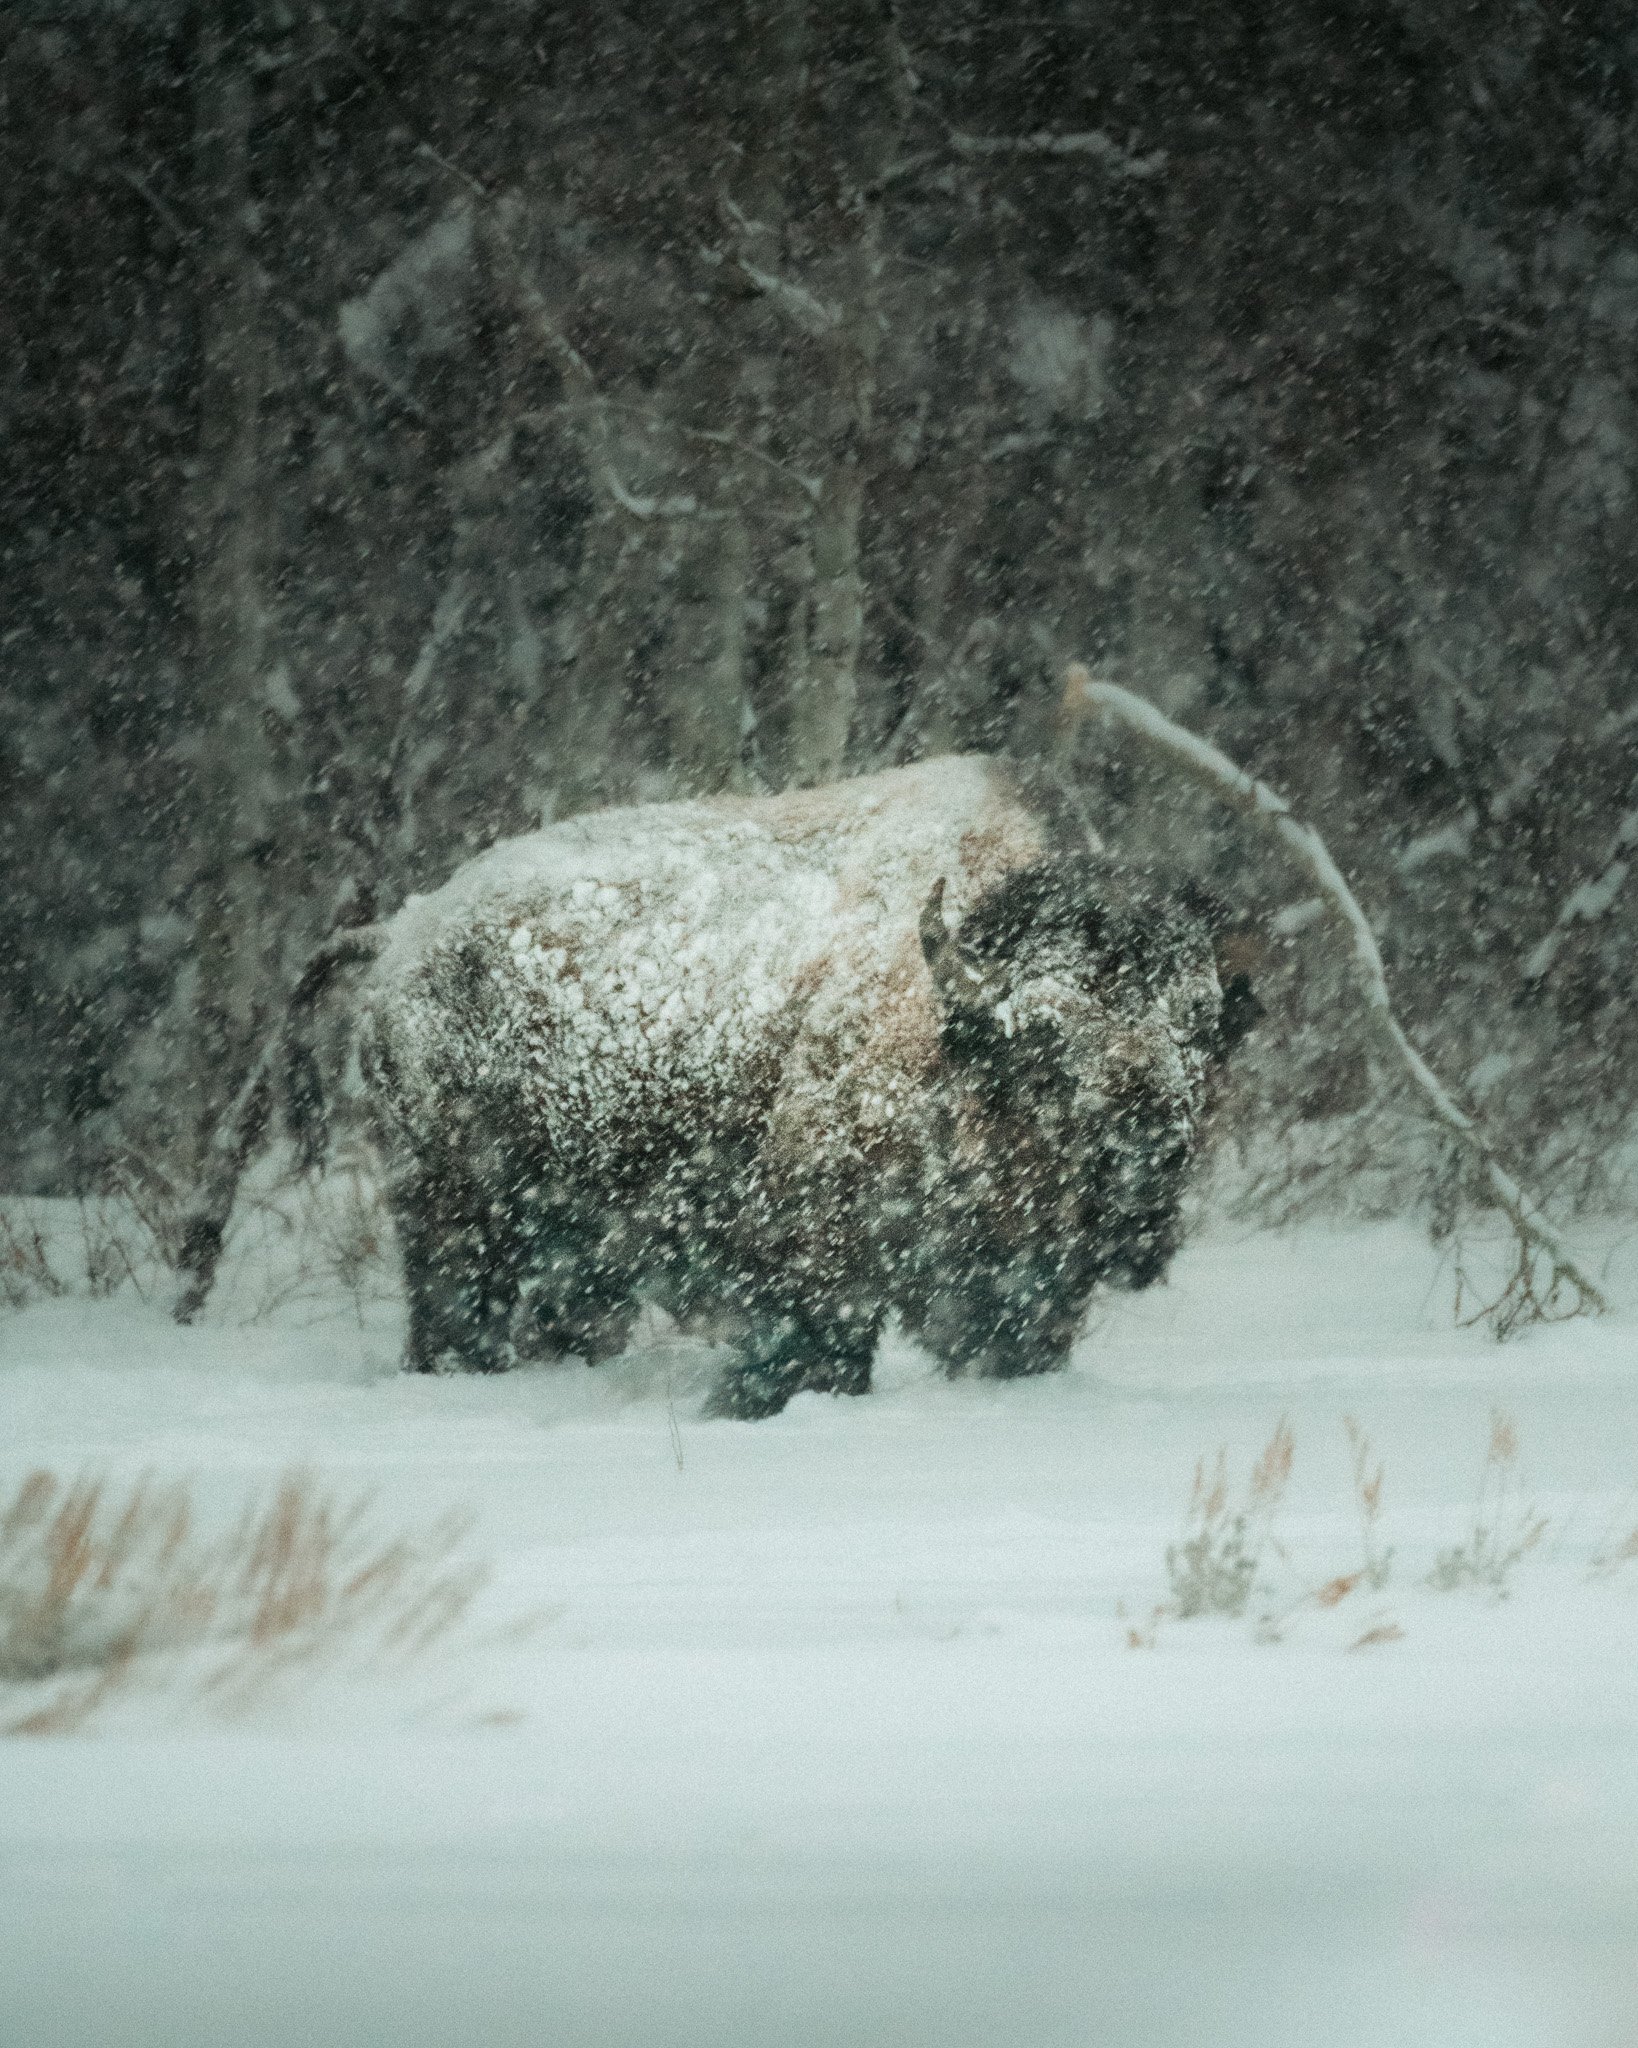
Tried to shoot in the snow

Shot after the snow
5. Dress to Impress Winter
The last tip I have for winter photography is to come prepared for winter photography. These photos were all taken in Yellowstone this past winter in Lamar Valley, where it barely got to 10* every day. We were shooting in single-digits most of the time. If you don’t take winter serious, you’re going to be miserable, and could even risk death. Be sure to go out with proper layers and as a photographer, gloves. I use Vallerret Markhof Pro 2.0 Photography gloves, and also use Smart Wool liners under them. I want to be comfortable enough to enjoy the cold, winter weather.

I absolutely love shooting in the winter, and I’m so thankful that I was able to acquire the skills needed to make my winter photography successful for myself and my clients. I hope these tips help you enjoy shooting this winter, and many more to come!